


 Password Manager
 Identity Theft Protection

 Team / Business
 Enterprise
 Government
 MSP
MSP


A correct single sign on setup pairs your identity provider and application through exchanged metadata, a valid signing certificate, and an agreed authentication protocol, so users log in once and reach every connected app. Most deployments run on SAML 2.0 or OIDC/OAuth2. Before touching any configuration screen, confirm your admin permissions, domain access, and a test account. Then pick the protocol your applications actually support.
TL;DR:
- Proper SSO setup requires careful planning, including verifying domain ownership, collecting certificates, and selecting the correct protocol based on application support.
- Most configuration errors stem from mismatched URLs, entity IDs, or certificates, which can be mitigated through meticulous copy-pasting and verification.
- Testing should include both IdP-initiated and SP-initiated login flows, with secure time synchronization and attribute validation before organization-wide rollout.
- Ongoing management of certificates, access reviews, and multi-factor authentication is essential to maintain security and prevent disruptions.
- Implementing layered security controls like MFA, RBAC, and continuous monitoring enhances protection beyond single sign-on’s convenience.
Prerequisites and Planning Checklist Before You Configure SSO
Skipping the planning step is the single most common reason SSO rollouts stall halfway through. Before you open the identity provider console, gather the access and artifacts you’ll need, because half of them require a request ticket to someone else’s team.
You need at least three types of admin access: identity provider (IdP) admin rights, service provider or application admin rights, and DNS editing access for domain verification. If your organization runs Active Directory, LDAP, or Azure AD, confirm you can query group memberships and attributes, since those feed directly into claims mapping later.
Have these ready before you start:
- Domain ownership records and DNS control (needed for TXT verification).
- Current signing certificates, if any exist from a prior SSO integration.
- One or two test accounts that mirror real user attributes, not admin superuser accounts.
- A non-SSO break-glass admin account that stays outside the new authentication flow.
- A rollback plan and a snapshot of current app-level authentication settings.
Decide your login flow (IdP-initiated or SP-initiated) and build a short inventory of which applications need SSO first. Trying to integrate ten apps in one sitting almost guarantees a misconfigured attribute somewhere.
Should You Choose SAML or OIDC/OAuth2?
The protocol decision usually comes down to what your applications were built to support, not personal preference. SAML 2.0 dominates enterprise web applications, especially older or legacy service providers, because it’s been the default in enterprise identity for over two decades. OIDC/OAuth2 fits modern web apps, mobile clients, and API-first products better, since it was designed with lighter, token-based exchanges in mind.
Attribute handling differs between the two in ways that trip up first-time implementers. SAML relies on a NameID with a specified format, and identity playbooks recommend using emailAddress as that format unless the service provider explicitly needs a persistent, opaque identifier. OIDC instead issues claims inside a JSON Web Token, which tends to be easier to debug but requires its own care around scopes and token expiration.
Before finalizing your protocol choice, work through these questions:
- Does the application’s documentation list SAML, OIDC, or both as supported options?
- Does the app expect a specific NameID format, or can it accept email addresses directly?
- Will you use IdP-initiated login (user starts at the identity provider dashboard) or SP-initiated login (user starts at the app itself)?
- If SP-initiated, do you have domain routing in place so the app knows which identity provider to redirect to?
SP-initiated flows require domain routing configuration that IdP-initiated flows skip entirely. Some platforms, including Supabase, recommend starting with IdP-initiated precisely because it avoids that extra domain association step.
How Do You Configure the Identity Provider for SSO?
The identity provider is where the trust relationship begins. Every field you set here gets referenced again when you configure the application side, so accuracy matters more than speed.
- Create a new application or connection entry inside your IdP console. Name it clearly (matching the app it represents) so future admins aren’t guessing what “App2” connects to six months later.
- Capture the IdP metadata: Entity ID, Sign-in (SSO) URL, and the X.509 signing certificate. These three values are what you’ll hand to the service provider in the next section.
- Set the NameID or subject format. Use emailAddress unless the application specifically requires a persistent opaque identifier, since mismatched NameID formats cause a large share of failed first logins.
- Map claims or attributes. At minimum, map email, display name, and group or role membership if the app uses role-based access internally.
- Assign a small group of test users, not your entire directory. Two or three accounts with different role memberships are enough to catch attribute mapping errors.
- Export the IdP metadata file or URL and store it somewhere your team can retrieve it without re-logging into the IdP console every time.
Microsoft Entra ID documentation walks through equivalent steps for hybrid environments using Microsoft Entra Connect, including prerequisite checks and stepwise enablement that are worth reviewing if your organization runs a hybrid AD setup.
Pro Tip: Keep two browser windows open during this whole process, one logged into the IdP console and one into the application’s admin panel. Vendor documentation across platforms like Docker converges on this exact copy-paste pattern between consoles, and switching tabs constantly is where typos creep into Entity IDs.
Configuring the Service Provider: Where the IdP Values Go
Once the identity provider side is set, the application (service provider) needs the matching configuration. This is where most of the “it doesn’t work” tickets originate, usually from a single mistyped URL.
- Locate the app’s SSO or SAML settings page. Most modern SaaS platforms bury this under Security or Authentication in admin settings.
- Paste the IdP’s Sign-in URL and the X.509 certificate exactly as exported. Even a stray line break in the certificate block can cause validation failures.
- Set the ACS (Assertion Consumer Service) URL or Reply URL to the exact value the application provides. This is not something you invent. Copy it from the app’s own settings page and paste it back into the IdP if the IdP requires it there too.
- Verify the Audience or Entity ID value matches on both sides. A mismatch here is one of the most common causes of “invalid audience” errors during testing.
- Set username or UPN mapping so it aligns with the claims you configured on the IdP side, typically matching against email address.
- If the app supports SCIM provisioning, prepare a dedicated service account with API credentials now, even if you plan to enable automated provisioning later. Retrofitting SCIM after users are already active in the app creates duplicate account headaches.
- Save and generate a metadata export from the SP side too, in case your IdP supports metadata-based configuration instead of manual field entry.
Vendor documentation from platforms like Docker shows this same copy-paste sequence between domain verification, connection creation, and metadata exchange, which is a useful sanity check if your specific app’s docs feel sparse.
Managing Certificates, Signing Keys, and Rotation
Certificates expire, and an expired signing certificate breaks every login attempt simultaneously across the organization. Treat certificate handling as an ongoing lifecycle task, not a one-time setup step.
- Export the certificate in Base64 format and confirm the thumbprint matches between the IdP export and what the SP has stored.
- Never do a hard cutover when rotating certificates. Add the new certificate to the IdP configuration while the old one stays active, and allow a verification window before removing the old certificate so the SP can validate against either signature.
- Set a calendar reminder or automated alert at least 30 days before certificate expiration; manual tracking across dozens of apps fails eventually.
- Keep a centralized log of which certificate is tied to which app connection, including issue and expiry dates.
Pro Tip: Certificate rotation failures rarely happen because someone forgot to rotate. They happen because someone rotated on the IdP side and forgot the SP still had the old certificate cached. Overlap windows exist to prevent exactly that gap.
Verifying Your Domain for SP-Initiated Login
Domain verification matters most when you’re running SP-initiated flows, where the application needs to know which identity provider to redirect a given user to before authentication even starts.
- Add a DNS TXT record with the value your IdP or SP console provides, then verify ownership through that same console. Propagation can take anywhere from a few minutes to 24 hours depending on your DNS provider.
- If SP-initiated routing is required, associate the relevant email domains with your organization inside the IdP so it knows to route users at that domain to your connection rather than a generic login page.
- Document the exact verification steps you used, including which DNS provider and record type, so the next admin doesn’t have to reverse-engineer it during an incident.
Testing SSO Before You Roll It Out
Never flip enforcement on before running a full test pass. A checklist here saves you from discovering a broken attribute mapping after 500 employees are already locked out.
- Test IdP-initiated login by starting from the identity provider’s app dashboard and confirming successful redirect and session creation.
- Test SP-initiated login separately, starting from the application’s own login page, in an incognito or private browser window to avoid cached sessions masking a real failure.
- Inspect the SAML response or OIDC ID token. Confirm the signature validates, the audience restriction matches your Entity ID, the NameID format is correct, and mapped attributes (email, groups) came through as expected.
- Smoke-test any mobile clients or CLI tools tied to the application, since these sometimes use separate OAuth flows or personal access tokens that behave differently from browser-based SSO.
- Record each successful test case, including which test account, which flow, and what attributes were verified, before you consider rollout.
Clock synchronization deserves its own line item. A time drift of just five minutes between the IdP and SP servers is enough to invalidate an otherwise correctly configured SAML assertion, and it’s one of the hardest failures to diagnose without checking timestamps directly.
Rolling Out SSO Safely Across Your Organization
Rolling SSO out to everyone on day one is how a single misconfigured claim turns into an all-hands incident. A phased approach costs you a little time up front and saves considerably more later.
- Start with a pilot group across different roles and departments, not just the IT team who already understands what’s happening.
- Monitor login errors and support tickets closely during the pilot window before expanding to additional departments.
- Only enable hard enforcement (blocking non-SSO logins) after the pilot group has run clean for at least a few days.
- Keep one break-glass, non-SSO admin account active and documented, with clear emergency-access procedures written down somewhere outside the SSO system itself.
- Coordinate SCIM or directory-based deprovisioning with HR and IT offboarding workflows, so a departing employee’s access closes everywhere at once, not just in the app they used most.
Pro Tip: Write down your break-glass account credentials and store them somewhere physically or logically separate from your identity provider. If the IdP goes down, that account is the only way back in.
Troubleshooting Common SSO Failures
Most SSO failures trace back to one of a handful of causes, and experienced admins learn to check them in a specific order before digging deeper.
- Confirm server clock synchronization first. Clock skew is invisible until you look for it and causes assertion validation failures that look like unrelated errors.
- Check certificate thumbprints on both IdP and SP sides. A stale or mismatched certificate produces signature validation failures.
- Verify the ACS/Reply URL matches exactly, including trailing slashes and http versus https. Applications rarely accept a “close enough” URL.
- Confirm the Audience or Entity ID values match between IdP and SP configuration.
- Capture the raw SAML response using a browser extension or developer tools, and read the decoded XML directly rather than guessing from the app’s generic error message.
- If a rollout goes wrong, disable enforcement immediately, allow local logins to resume, and revert to the previous certificate or configuration while you diagnose.
Why SSO Needs MFA, RBAC, and Ongoing Monitoring
Single sign on centralizes authentication, and that convenience comes with a real tradeoff. One compromised credential now potentially unlocks every connected application instead of just one.
Federal identity guidance frames this plainly: treat SSO as an access hub rather than a security control on its own, and pair it with compensating controls, because centralization without governance simply concentrates risk instead of reducing it.
That guidance from the Identity, Credential, and Access Management SSO playbook translates into a few concrete practices:
- Require multi-factor authentication at the identity provider level, not just at individual applications, so MFA covers every app behind the SSO connection.
- Apply role-based access control (RBAC) strictly, so a single authenticated session doesn’t imply blanket access to every resource.
- Automate certificate expiry alerts and schedule periodic access reviews, catching stale permissions before they become an audit finding.
- Turn on audit logging for authentication events and set up anomaly detection for unusual login patterns, like a login from an impossible travel location.
- Keep a documented runbook for key security events: certificate compromise, IdP outage, or suspected credential theft.
What I’d Tell Any Admin Setting Up SSO for the First Time
The mistake I see most often isn’t a bad certificate or a typo in an Entity ID. It’s treating SSO as a one-time project instead of a system that needs ongoing care. Teams configure it, test it once, flip enforcement on, and then don’t revisit certificate expiry or access reviews until something breaks. That’s backwards. The setup is the easy part.
Save a configuration snapshot before every change, and always test in a staging environment first, even for something as small as an attribute mapping tweak. For deeper reading on how SSO fits into broader identity strategy, LogMeOnce’s breakdown of SSO and identity management and its passwordless MFA resources are worth a look.
— Mike
Where LogMeOnce Fits Into Your SSO Strategy
SSO solves the login problem. It doesn’t solve the “what happens if a session token gets stolen” problem, or the “what happens when an employee leaves and still has an active session somewhere” problem. That’s where a layered identity approach earns its place alongside your SSO deployment.

LogMeOnce’s cybersecurity suite adds passwordless MFA, encrypted credential storage, and identity lifecycle tools that sit comfortably next to whatever IdP you’ve already configured. Passwordless MFA can improve security by strengthening the initial authentication step, which a correctly configured SSO connection depends on. Pair that with the password management benefits LogMeOnce offers for the accounts that haven’t made it into your SSO umbrella yet, and you get coverage that doesn’t leave gaps at the edges. Consider starting a trial to evaluate how this approach maps onto the SSO setup you have in place.
Reference Documentation Worth Bookmarking
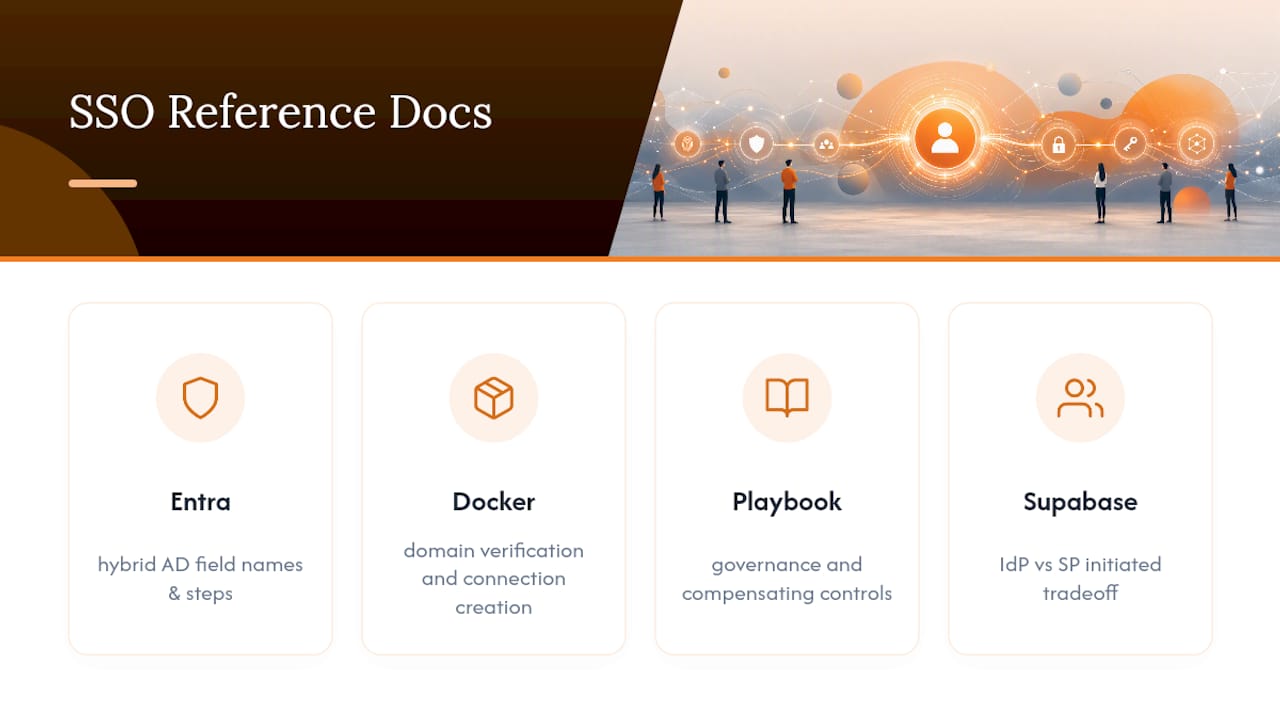
For vendor-specific field names and step sequences, keep Microsoft Entra’s SSO documentation handy for hybrid Active Directory environments, and Docker’s SSO setup guide for a clean example of domain verification and connection creation. For governance and blast-radius thinking, the federal SSO playbook lays out compensating controls in plain terms, and Supabase’s SSO docs explain the IdP-initiated versus SP-initiated tradeoff clearly for developers building their own integrations.
Sources
- SAML SSO in B2B SaaS — The complete guide for developers and enterprise buyers
- Get started with single sign-on – Microsoft Entra ID | Microsoft Learn
- SSO playbook — Identity, Credential, and Access Management
Recommended

Neha Kapoor is a versatile professional with expertise in content writing, SEO, and web development. With a BA and MA in Economics from Bangalore University, she brings a diverse skill set to the table. Currently, Neha excels as an Author and Content Writer at LogMeOnce, crafting engaging narratives and optimizing online content. Her dynamic approach to problem-solving and passion for innovation make her a valuable asset in any professional setting. Whether it’s writing captivating stories or tackling technical projects, Neha consistently makes impact with her multifaceted background and resourceful mindset.


